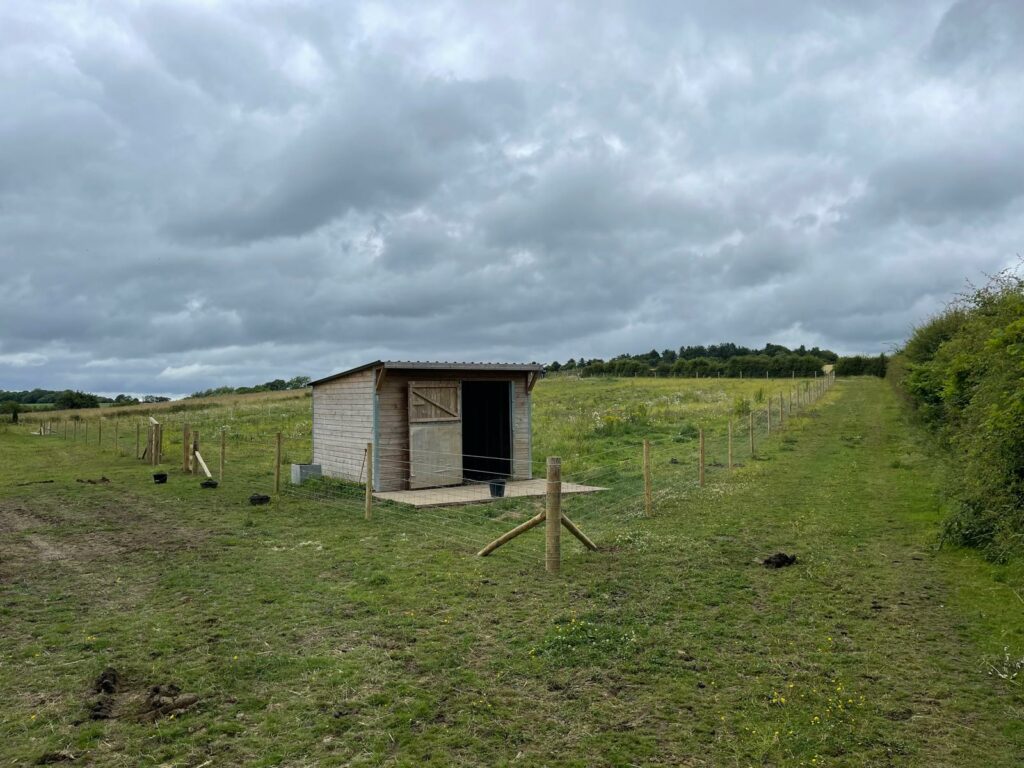
Fencing – Pony Paddock Lincolnshire
Fencing is a vital part of managing livestock and animals, and when it comes to creating a safe and secure paddock for ponies, having the right tools can make all the difference. Recently, we were tasked with installing stock net fencing to create a new paddock area and our new tractor-mounted post knocker was a game changer.
In this blog we’ll talk a little bit more about the process, the benefits of using this equipment and why it’s perfect for installing fencing quickly and efficiently.
Why a Tractor Mounted Post Knocker?
For those unfamiliar with post knockers, they are machines used to drive fence posts into the ground quickly and securely. While traditional manual post-driving methods can be time consuming and physically demanding, a tractor-mounted post knocker leverages the power of your tractor to do the heavy lifting.
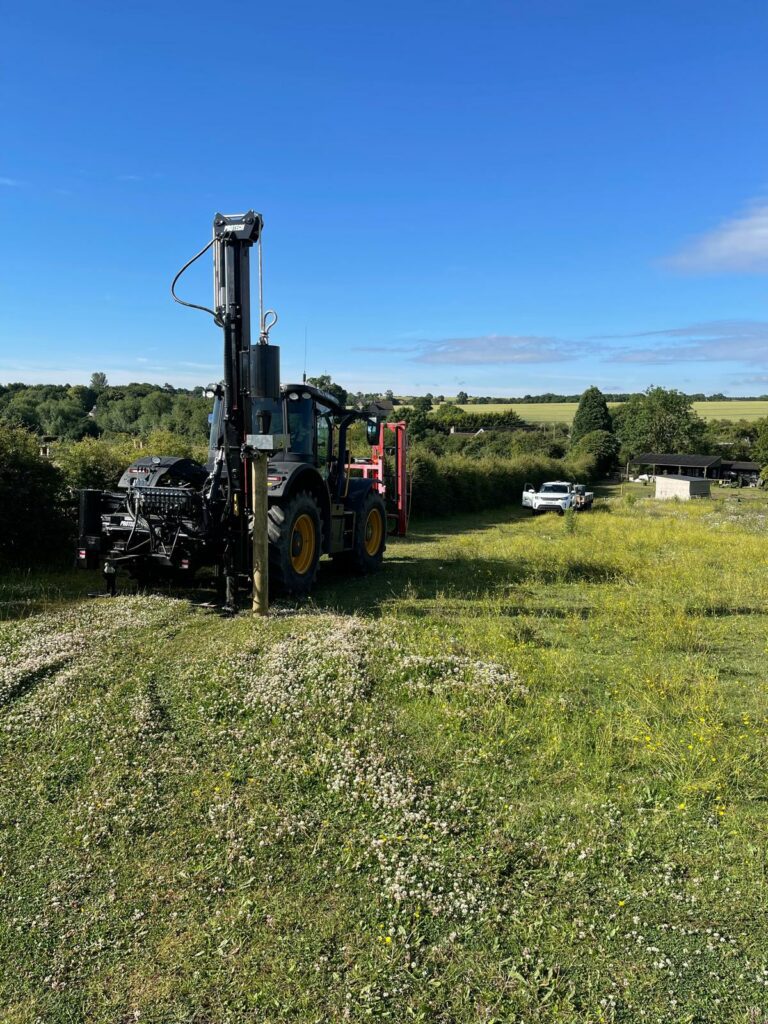
First post goes in
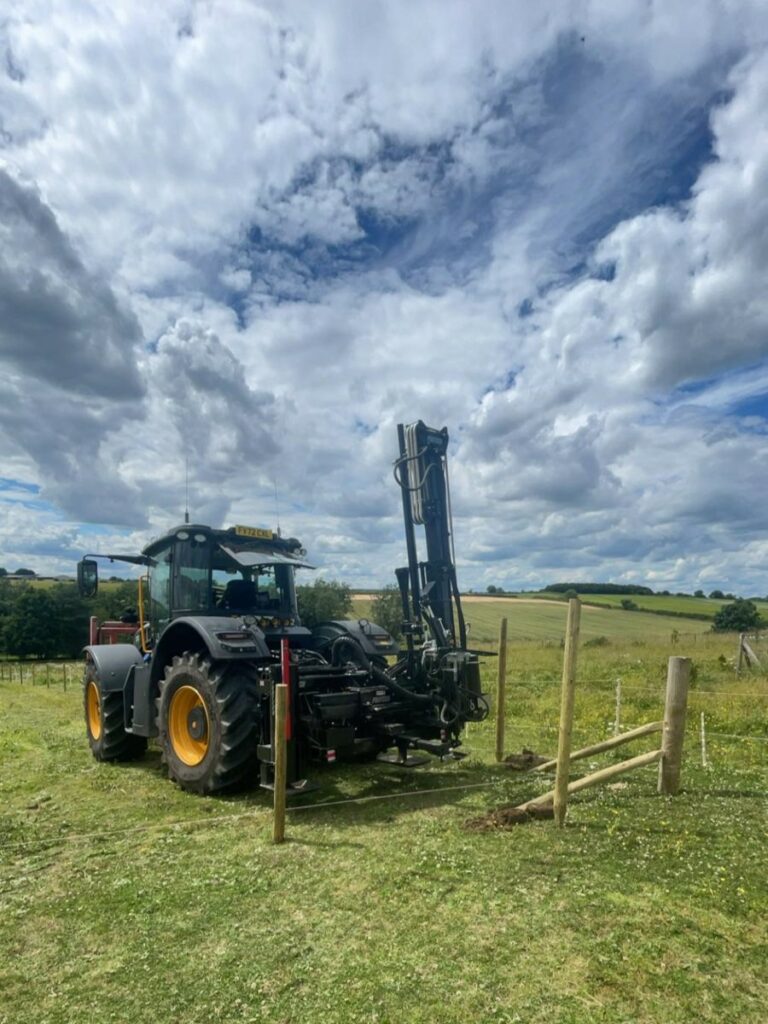
Post knocker in action!
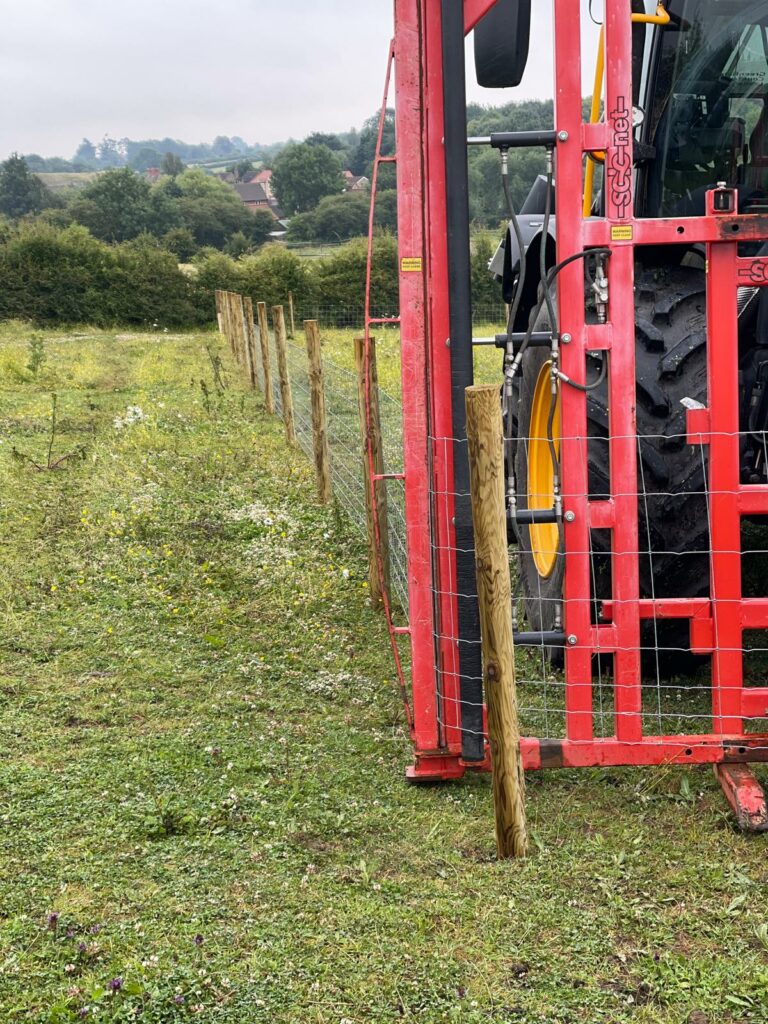
Quick fencer in action
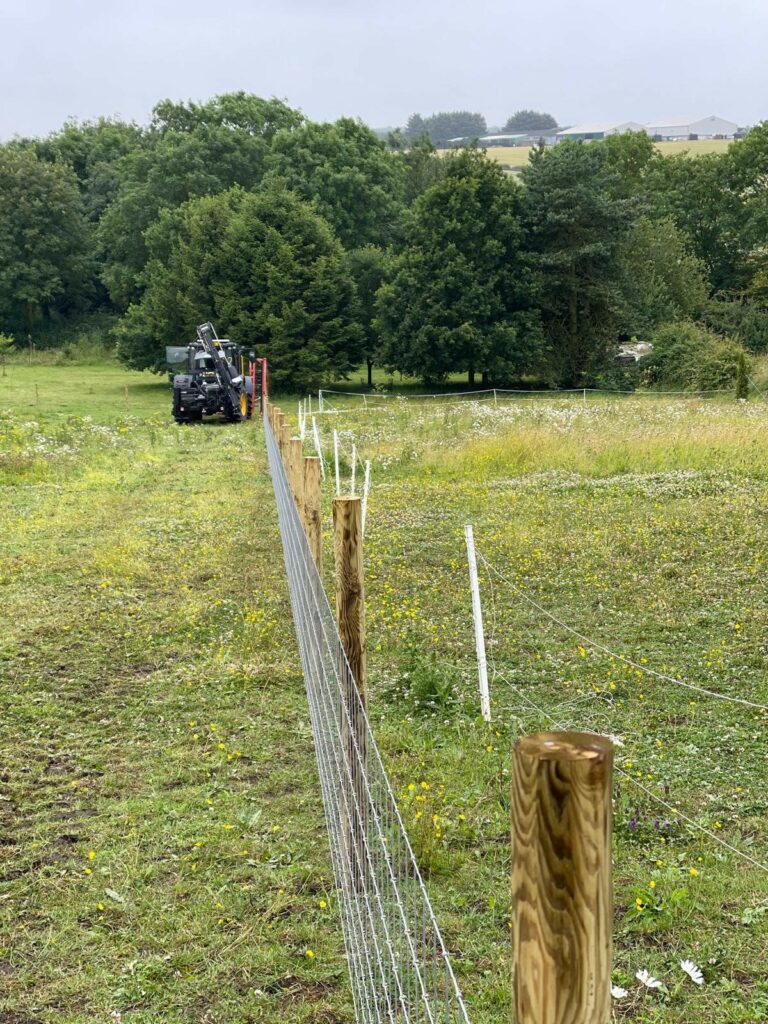
Unspooling stock net fencing
Here’s why this piece of equipment is a must-have for fencing projects:
- Speed and Efficiency: A job that could take hours manually can be completed in a fraction of the time
- Precision: With the ability to adjust the knocker’s position easily, every post is driven in at the perfect depth and angle, ensuring a neat and professional finish
- Reduced Labour: Less physical effort means less fatigue for our team
Installing Stock Net Fencing for the Pony Paddock
The main goal of this project was to create a secure paddock for ponies. For this, we chose stock net fencing due to its durability and flexibility. Here’s a breakdown of the installation process:
1. Planning the Layout
Before breaking ground, we carefully planned the paddock’s size and shape, factoring in ample space for the ponies to roam comfortably. This step also included marking the positions for the fence posts with stakes and string lines.
2. Driving in the Fence Posts
Using the tractor-mounted post knocker, we began driving in the posts at regular intervals. The post knocker made the process simple—each post was driven deep into the ground with minimal effort, creating a solid foundation for the fencing. Thanks to the adjustable settings, we could ensure the posts were driven in straight and level across the paddock.
3. Installing the Stock Net Fencing
Once the posts were in place, we unrolled the stock net fencing and attached it securely to the posts.
4. Tensioning the Fencing
Ensuring the fencing was taut was critical to maintaining its structural integrity. With the posts firmly in place, tensioning the fence evenly was straightforward. The result was a robust barrier that not only keeps the ponies safe but also looks tidy and professional.
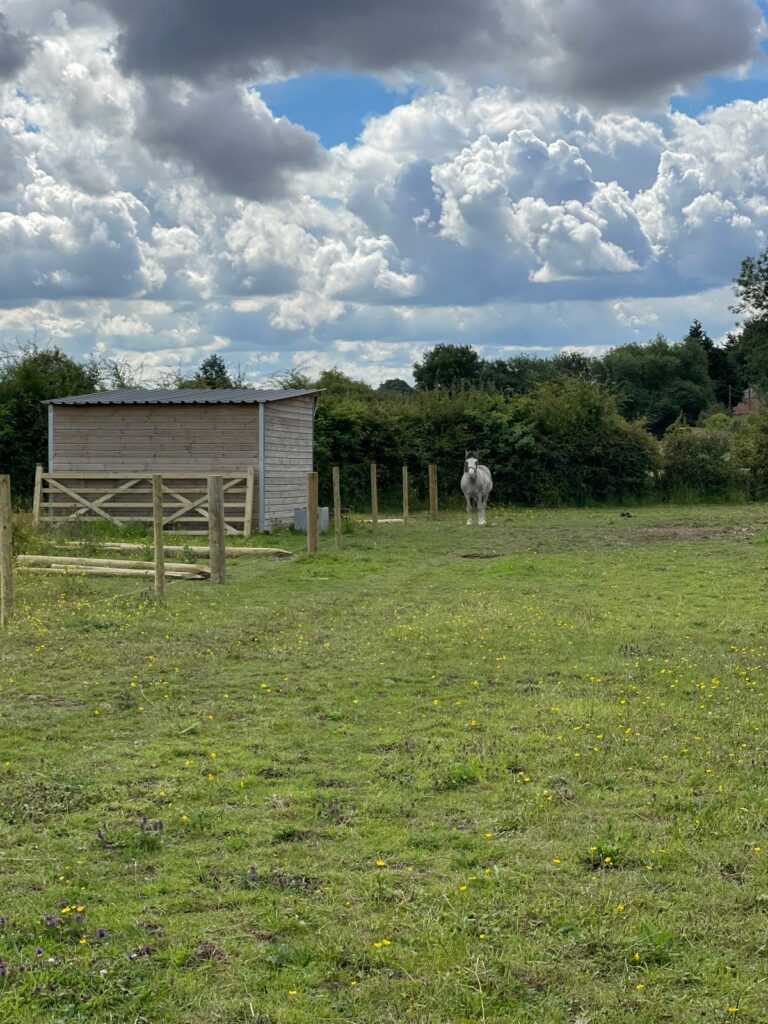
Making sure the team were working hard and not horsing around
Very professional from start to finish and we are delighted with the result, thank you to all the team.
J Wall
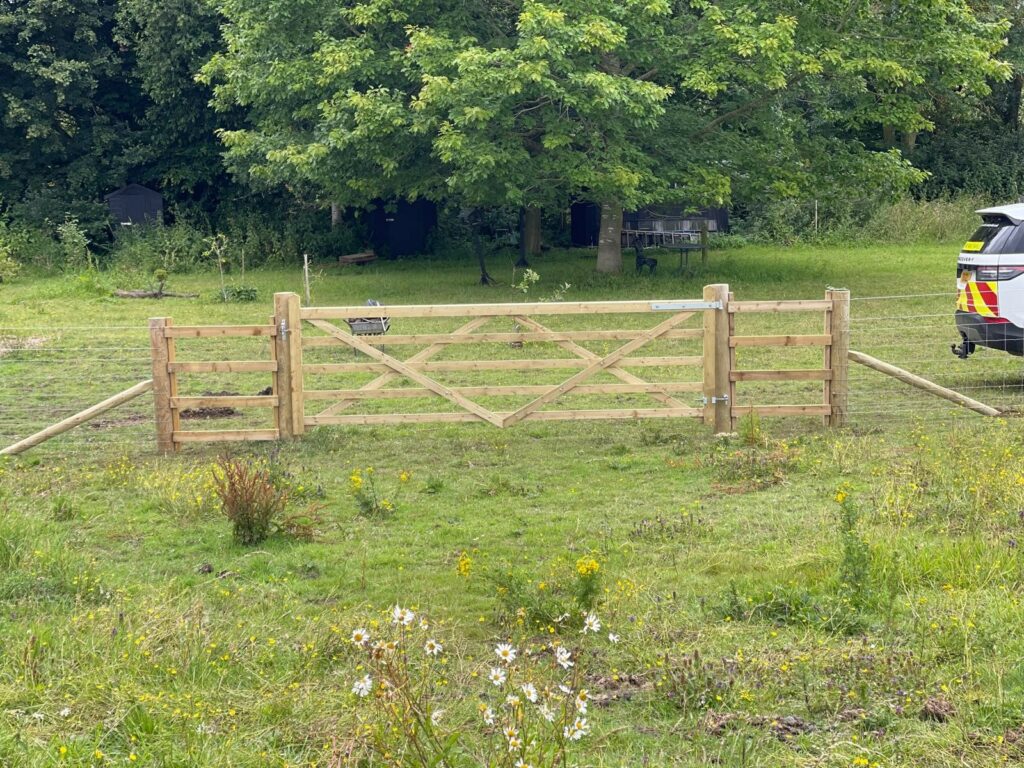
Wooden gate installation
